3D Printing Lamp Designs

After my boosto projects, I’ve been learning a bit of 3d modeling and combining it with my 3d printer I started creating some cool (hopefully!) designs for lamp and lamp shades. Everything was modeled by me in Blender and then printed with my low end 3d printer:

this was not a lamp

RoboAlan

The natural evolution of the Boosto project, I guess:

It’s a boosto of a friend of mine who happen to be a comedian too. So I really thought it would have been fun to have a speaking boosto, which meant I had to first model the 3d face, and then learn some 3d modeling skills to accomodate a servo motor to move the mouth, a couple of led for the eyes, and a speaker, all connected to a raspberry pi in the base, internet controlled to speak with my friend’s voice.

The project has had its challenges, mainly fitting everything together and getting a very low quality servo to move properly a poorly 3d designed “mouthpiece”. It’s been a journey but everything worked out in the end, and this thing not only has been operating by mimiking my friend over the last few weeks, but also featured and had some lines in the last comedy show of the season: incredible stuff.

Technically speaking, let’s go through the various steps of this little project, which took on and off about one moth to complete.

I first 3d modelled the whole thing, starting with the boosto ai generated head model. I then carved a hole inside, and experimented with different designs to cut the mouth and have it driven by a servo motor. The latest design was this:

After designing it, multiple prototypes were needed to test the idea and make sure everything was working. Working with real stuff can be pretty tricky

The head was designed to be open, so you could do maintenance and fit the speaker in the upper part.

After this, the base was designed to host the raspberry with some holes to pass the cables to the head with the speaker, servo and leds for the eyes.

After too many tests, I finally started writing some software on the raspberry that would be fit in the base. I wrote two simple services, the first listened on the audio card output (connected to the speaker) and opened the mouth kind of in sync with the audio – I actually experimented multiple ways of doing it in the end realizing I didn’t need all this complexity and a simple open/close mouth while some audio is playing was enough. The second was polling a web server of mine where with another simple webapp you could upload text or audio. if it was text, it would use espeak to TTS it in real time. Fast, effective, but low quality very robotic voice. If you uploaded audio, it was streaming it and playing it on the speaker directly. So I had a basic way for controlling it remotely, and it was working! But a new issue appeared:

The original Alan suggested RoboAlan could feature in his comedy show. Which was amazing, but it needed some more realtime-ish way of say something. The current setup with the poll and the streaming part was quite slow, sometimes taking up to 8 seconds to actually play the thing after you clicked it in the app. So the day before the comedy show, we spent a couple of late night hours to fix this by introducing client side caching of the audios (streaming was pretty costly, especially with bad connectivity which we were expecting at the comedy venue), and even some conversion from compressed audio like ogg/mp3 to uncompressed wav, trading disk space (we had plenty) with cpu cycles – a bit more constrained on a outdated raspberry pi I had sitting in my office.

Performance day was incredible, everything worked perfectly even if with still some delays probably due to the poor wifi setup we used.

I will try to update this post with a couple of videos when I can

Turn the lights on!

As usual just a quick writeup for a little project I’ve spent just 24h developing, in fact I already see too many bugs I might fix one day.

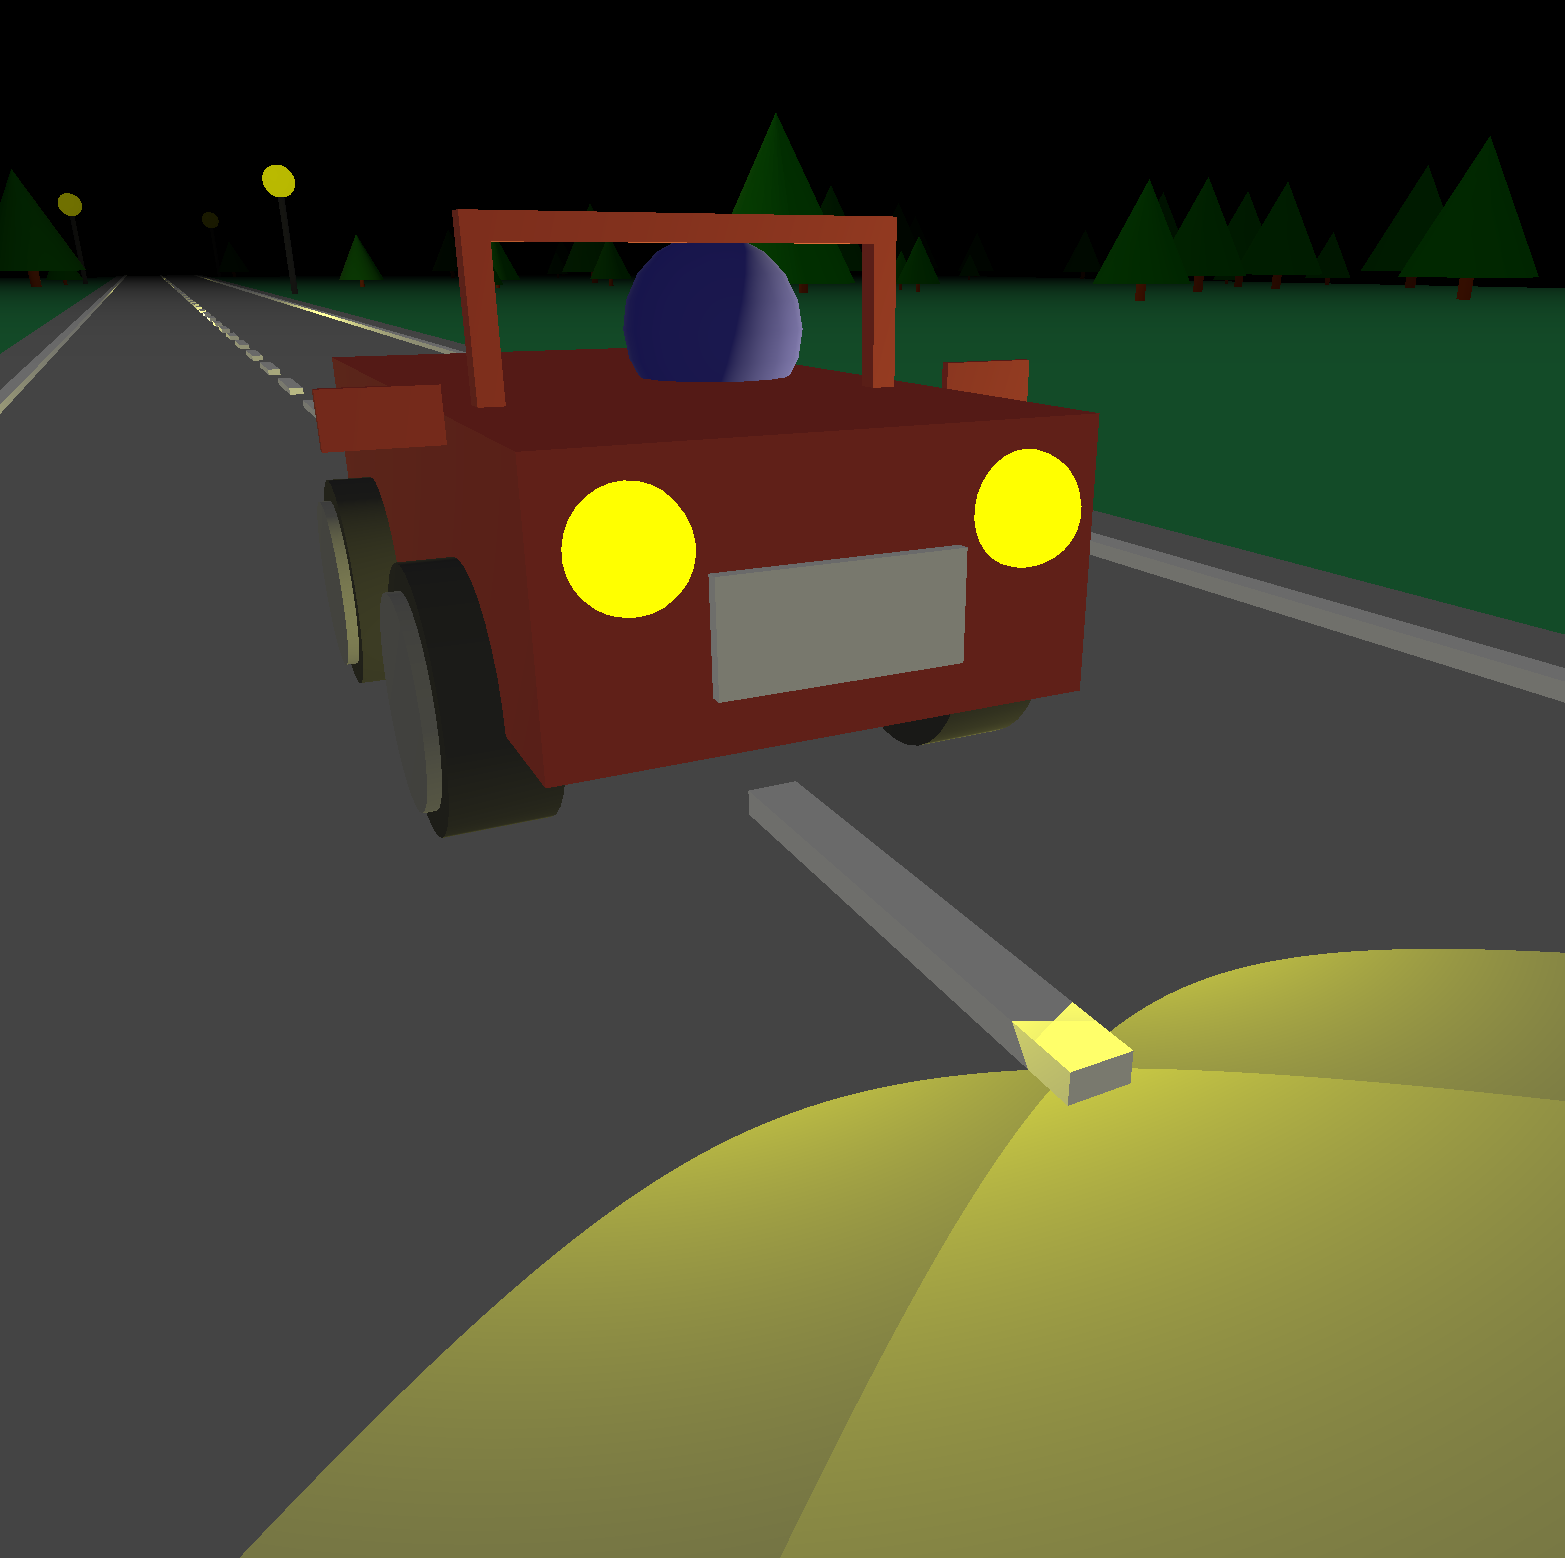
This time it’s a little 3D game (again!) based on threejs which tells the funny story of a french guy who has a car with limited battery power and a dark street to travel. Unfortunately the catalan police is ready to stop anyone crossing them with the light off, and French Mateu will have to struggle to go as far as possible while avoiding arrests and crashes!

Almost no AI was abused for this project. link here

Plani3D – Planimetry/map to 3D model

In the last days I’ve been working on this helper software to make it easy to turn a planimetry of a house into a simple 3D model to make it easy to visualize it or any modification you would want to make.


plani3deditor

Plani3D

plani3d_conpla

The functionalities are extremely limited and it may be buggy – it was only coded to suit my specific needs.

So far it lets you:

  • Load a custom image (planimetry, map)
  • Define a scale (so the 3d model will have the right measures)
  • Draw 3 types of entity with the mouse
    • Walls
    • Windows
    • Doors
  • Change thickness of walls
  • Generate the 3D model
    • saving the link will let you see it in the future too, the model gets encoded in the url (which could get veeery big)
  • Export the generated model as a GTLF file

Note: no deletion of added walls is possible at this time. Not even editing the generated model. It’s more a rapid prototype tool, doesn’t let you make things precisely.

The project can be tested here.


A try for a 3D game

Recently I’ve been experimenting a lot with 3D in the browser with Three.js, and although this is my first post about it, there’s a lot more I’m working on about 3D in JS, but it’s involved in my professional work and it’s not time to publish it yet.

Anyway, as usual I like to keep track of my projects here, so I link to this simple game I developed as a joke for a friend some days ago. The game is here, descriptions are in italian but if you don’t understand just click and everything will be fine.

3D website experiment

Greatly inspired by this article, it came to my mind that would be cool making some website which could be explored like the real world, rather than just consulted or read.

I picked the original code from the article, which already let you build a simple 3D world which could be navigated in first person, and modified it to have customizable blocks, with action, photos and mouse to control the view, enriching the experience.

Actually, then I spent a lot of time developing what would be the map editor, which has been really useful when designing my own map/world.

A first experiment that I have made is here.

I also uploaded the editor so that people can design and try their own world.

Everything will be saved locally to the localstorage of the browser, so for now, you can’t share the world you have created. Anyway, I’m planning to offer the possibility to create and share your own world, but it will take some effort so I will do it later.

The thing should work fine with chrome and firefox.